Introduction
Installing a new furnace is a significant investment in your home’s comfort and efficiency. Whether you’re upgrading an old system or outfitting a new construction, understanding the installation process can help you make informed decisions, avoid common mistakes, and ensure your furnace runs efficiently for years to come.
In this guide, we’ll walk you through what to expect during a furnace installation and how to prepare your home to ensure the process goes smoothly.
1. Choose the Right Furnace for Your Home
The first step is selecting the right furnace for your specific needs. This involves:
- Fuel Type: Decide between gas, electric, or oil, based on your region, budget, and energy goals. Gas furnaces are typically more efficient but require natural gas lines.
- Efficiency Rating (AFUE): Aim for 95%+ for optimal energy savings. This rating measures how efficiently the furnace converts fuel into heat.
- Size and Capacity: Use a Manual J load calculation to determine the correct BTU output. Oversizing can lead to short cycling and higher energy bills, while undersizing leaves rooms underheated.
- Budget and Long-Term Costs: Factor in both upfront costs and long-term operating expenses, including maintenance and energy use.
2. Prepare Your Home for Installation
Before the installation crew arrives, make sure your home is ready:
- Clear the Installation Area: Ensure the furnace location is free of clutter, with at least 30 inches of clearance around the unit for safe installation and maintenance.
- Check Venting and Ductwork: Make sure your existing ductwork is in good condition and properly sealed to prevent leaks.
- Test Gas and Electrical Connections: If installing a gas furnace, confirm that the gas line is leak-free and the electrical panel can handle the new system.
- Plan for Temporary Heating Needs: If it’s a winter installation, have portable heaters ready in case the process takes longer than expected.
3. Understand the Installation Process
Here’s what a typical furnace installation involves:
- Old Unit Removal: The crew will safely disconnect and remove your old furnace, including proper disposal of refrigerants and electrical components if necessary.
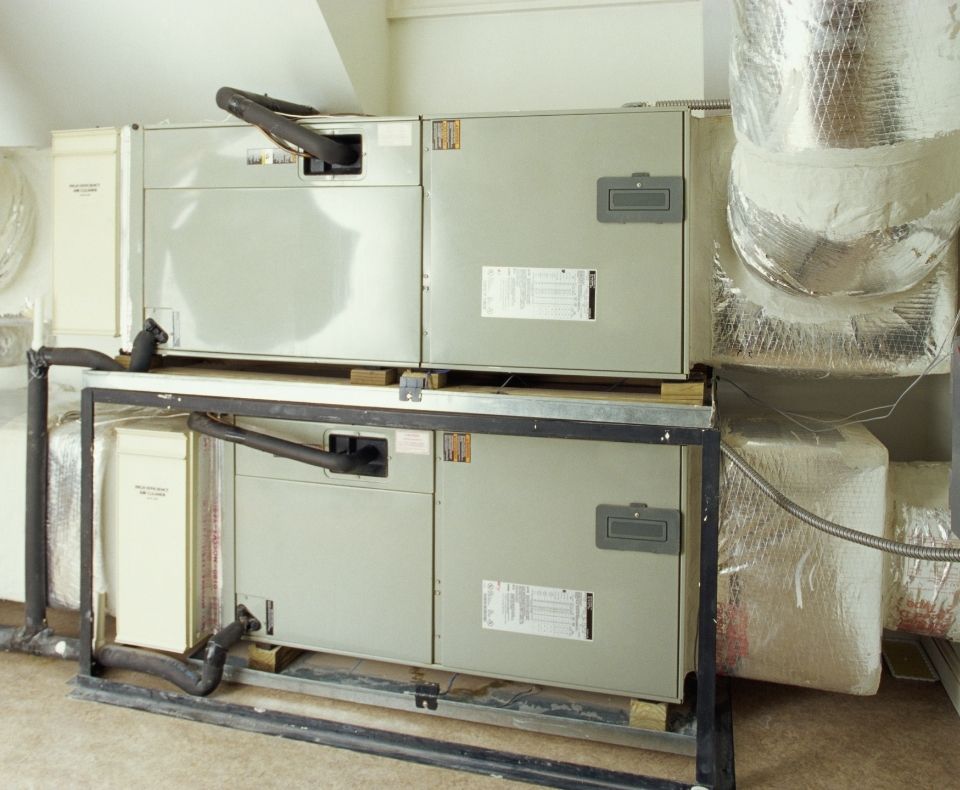
- New Unit Placement: The new furnace will be carefully positioned and leveled. This step is crucial for efficient operation.
- Duct and Vent Connections: The installers will connect the furnace to your ductwork and set up proper venting to expel combustion gases.
- Electrical and Gas Hookups: Technicians will connect the furnace to the gas line and electrical supply, checking for leaks and proper voltage.
- System Testing and Balancing: The system will be tested for correct airflow, gas pressure, and temperature rise to ensure optimal performance.
“A properly installed furnace is the foundation of a comfortable, energy-efficient home. It’s not just about the equipment, but about precise sizing, quality installation, and regular maintenance.” — HVAC Industry Best Practices Guide
4. Post-Installation Checklist
Once the furnace is installed, make sure the contractor:
- Provides a Manual S equipment match report for code compliance.
- Tests for carbon monoxide leaks and proper venting.
- Registers your warranty and provides a copy of the owner’s manual.
- Demonstrates how to use the thermostat and basic system controls.
5. Plan for Regular Maintenance
A furnace is a long-term investment, so plan for routine maintenance:
- Replace air filters every 1-3 months.
- Schedule annual professional tune-ups.
- Keep vents and ductwork clean to prevent efficiency loss.
Final Thoughts
A well-installed furnace can provide years of reliable comfort if chosen and installed correctly. By preparing your home and choosing the right equipment, you can avoid common pitfalls and ensure your system runs efficiently. If you have questions about the process or need help selecting the right furnace, reach out to a trusted HVAC professional.


